E-Multipla

-
Hey,
some years ago I cam across the Resolve-EV conversion. At this time it was just curiosity and spinning ideas in my head how to convert the "ugliest" car in the world into an ev. As my background is in mechanical engineering and I have some experience in restoring classic cars, but not too much in electronics, the wiring harness was a little concern for me at this point of time.
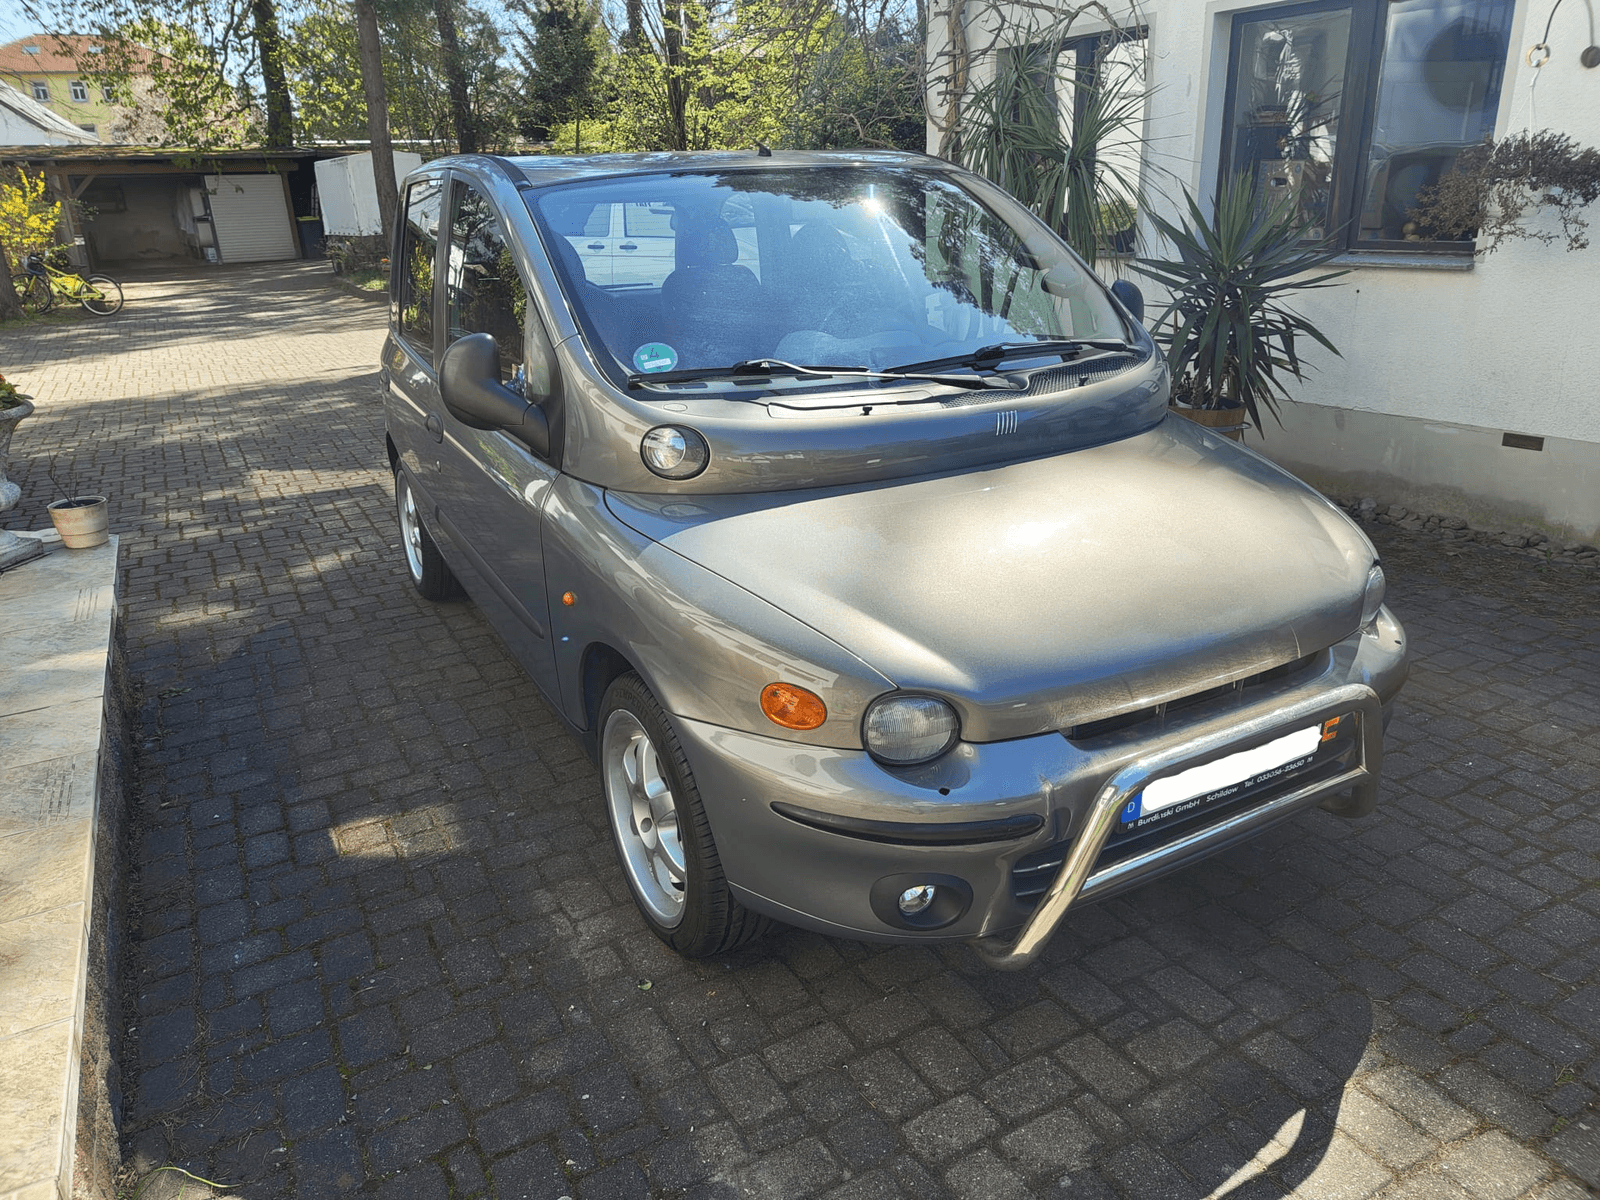
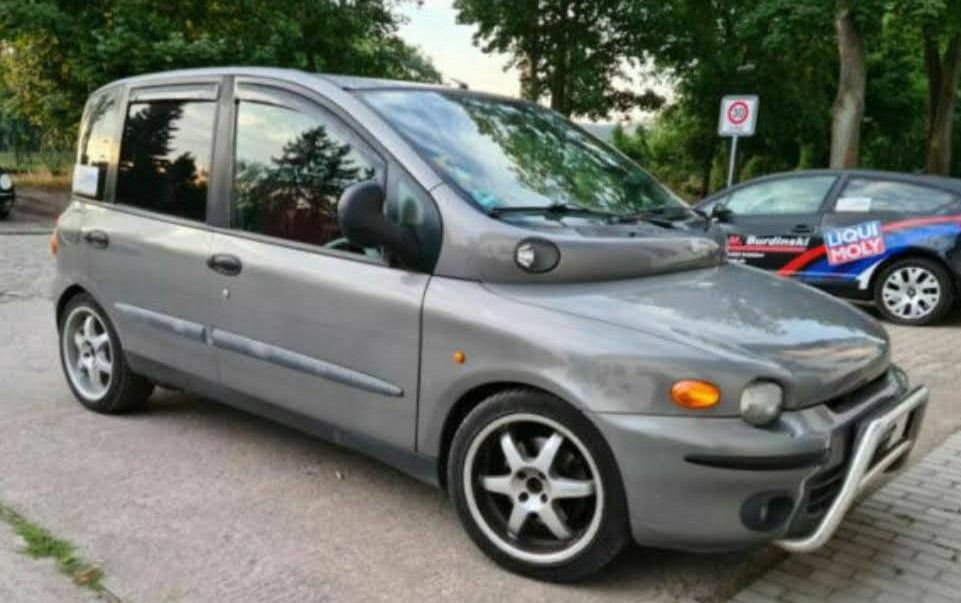
About a year ago the 1.6l 16V engine (running on LPG) of my Multipla started to have more and more issues. So I picked up the idea of converting it into an ev again. And luckily the wiring harness for the Resolve-EV conversion was available. Without the need to do all the wirking harness myself, I thougt its pretty much plug-n-play and I decided to get started.Here is a picture from the sales ad where I bought it.
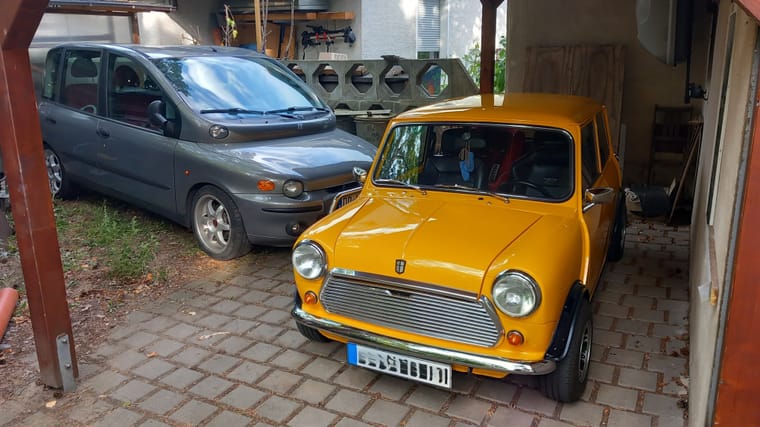
And at home with his little friend.
-
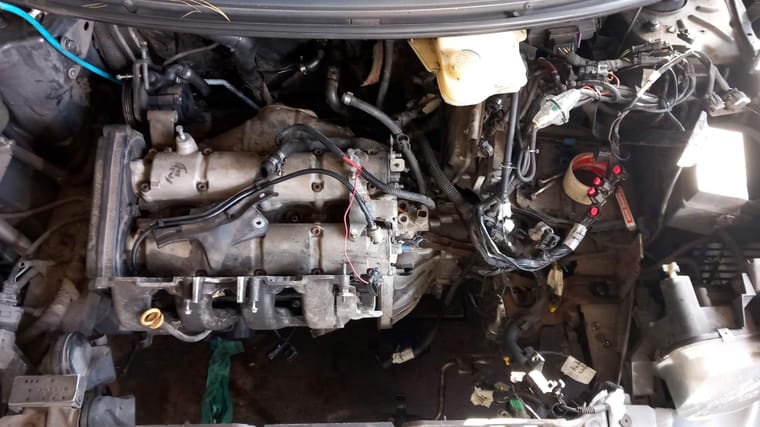
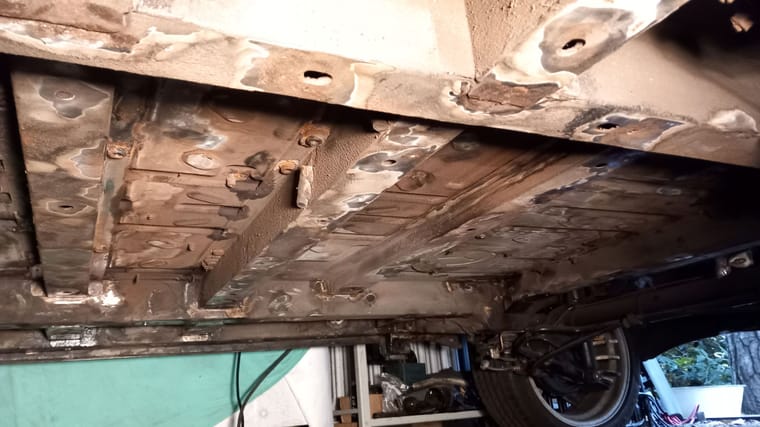
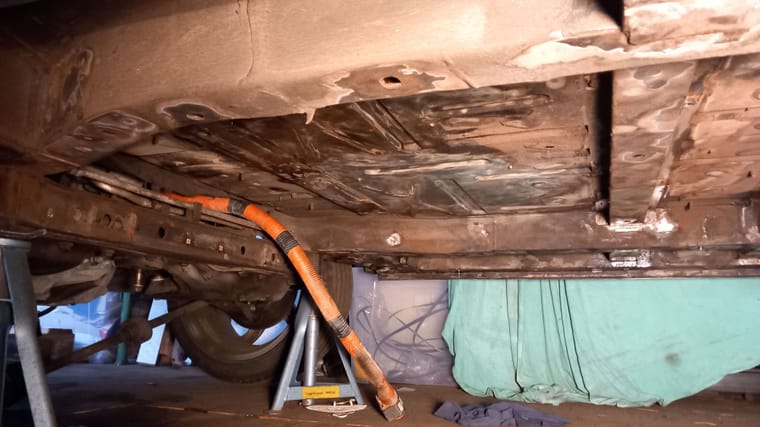
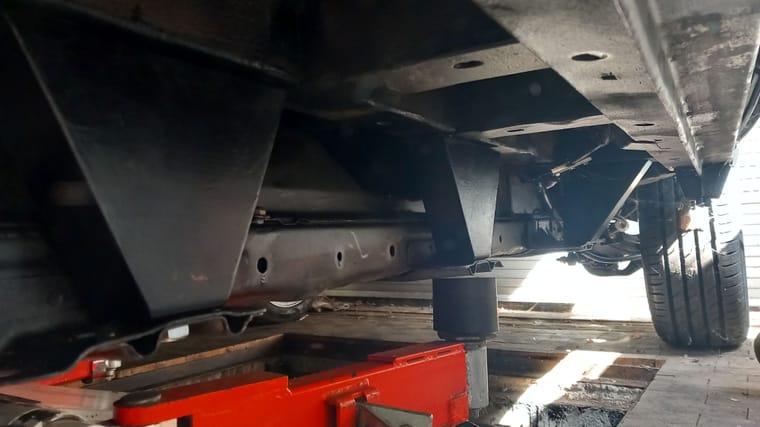
Here some pics from when all the combustion engine related parts are being removed. The Multipla has a lot of space underneath the floor. It was also available as a natrual gas version where 3 big gas zylinders where mounted there. This made the battery placement relatively easy and most important it made it possible to use the whole Nissan Leaf drive train and battery with the high voltage cables as they are. I didn't do any change to the high voltage cables or the battery pack. This would have made the technical inspection and later registration of the car in Germany far far more difficult.

After everything was removed I cleaned and removed rust as everything was accessible easily. Afterwards it got preserved. Some new cunifer brake lines where fitted as well.
-
The Nissan Leaf drive train and battery I got from Gronsvolds Bil-Demontering AS in Norway.
Its a 80kW Ze0 with a Gen II inverter and a 40kWh battery pack with 91% SOH. Along with this I got all the auxillary parts (water pump, drive shafts, cabin heater, charging ports, even the AC does anyone know if there is a way to use it?)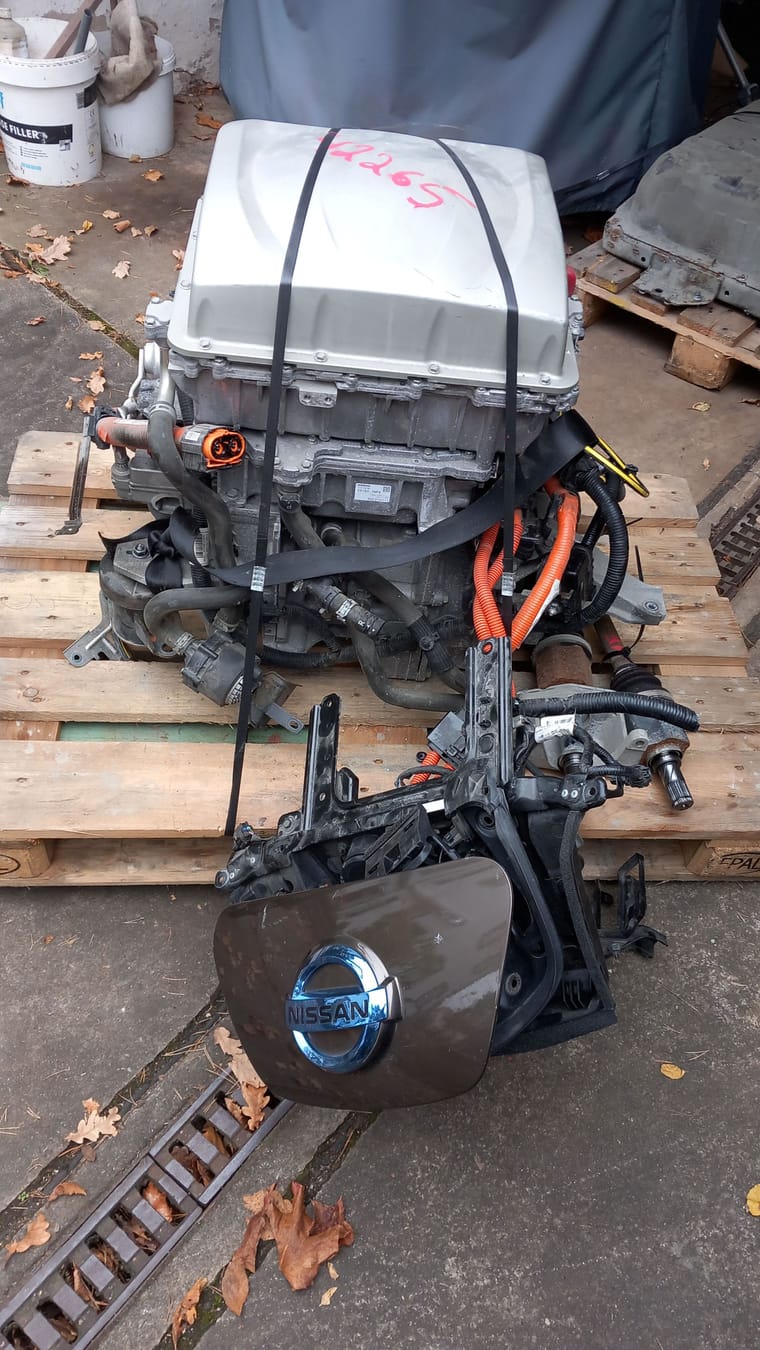

-
@Saabel I cant agree more on what you said

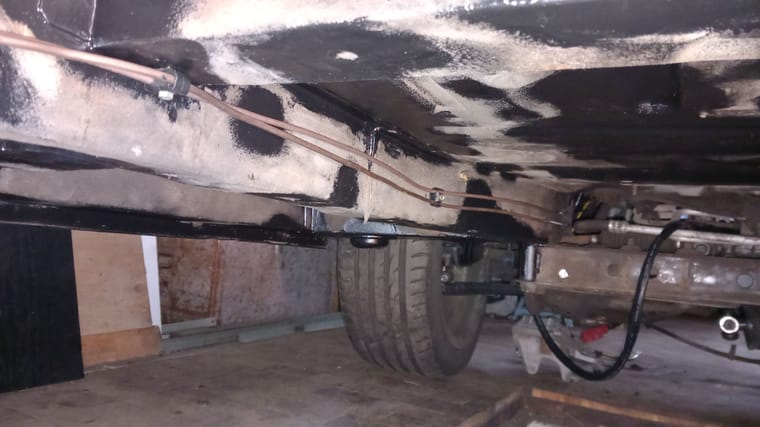
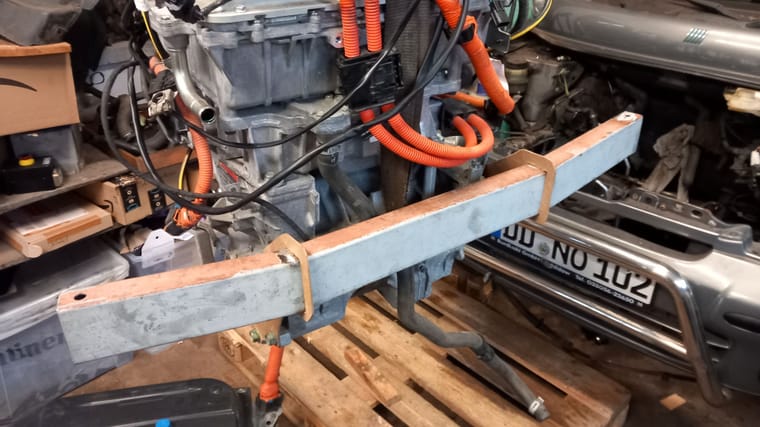
Regarding the floor and fitting the battery pack. Its tight, but fits perfectly!
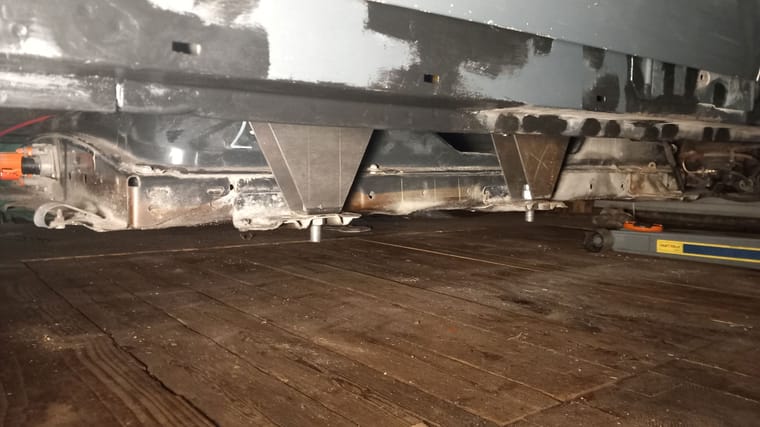
Only six of those mounts needed to be manufactured to use the original mounts on the battery pack. The best part is that the pack fits nicely inbetween the two longitudinal beams and the mounts are sitting nicely in the middle of the beam.
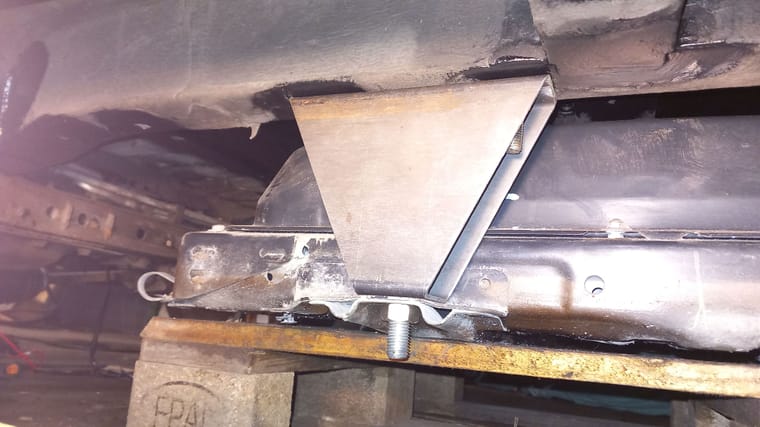
Thats how it looks now with all mounts in place.
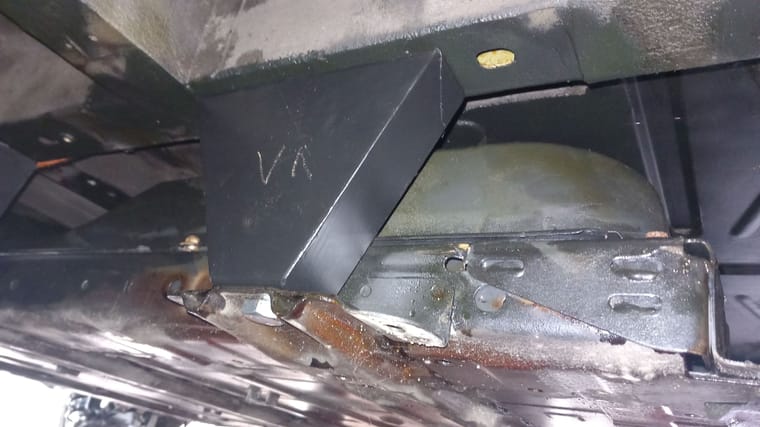
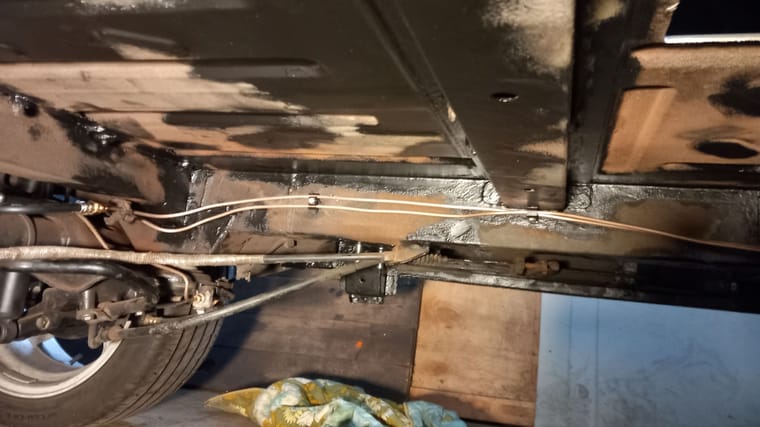
There are about 2cm on each side between the beam and the battery pack.
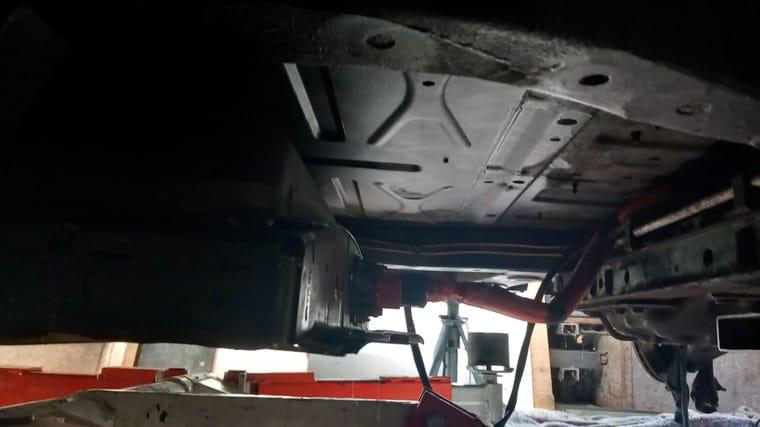
On the front there is a lot of space to easily fit the cables to connect the engine stack.
-
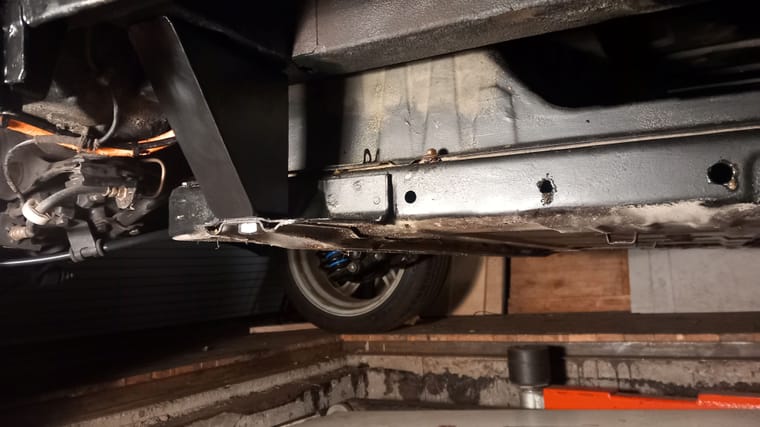
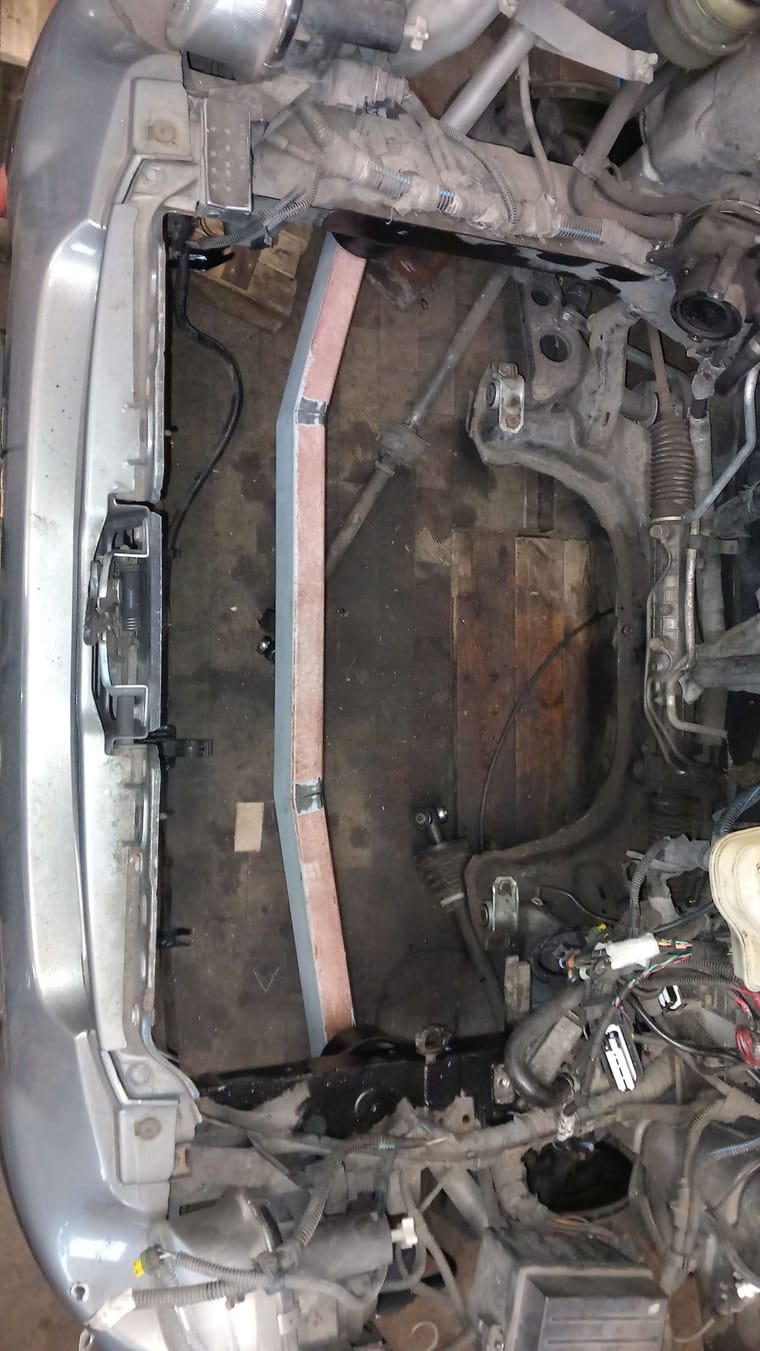
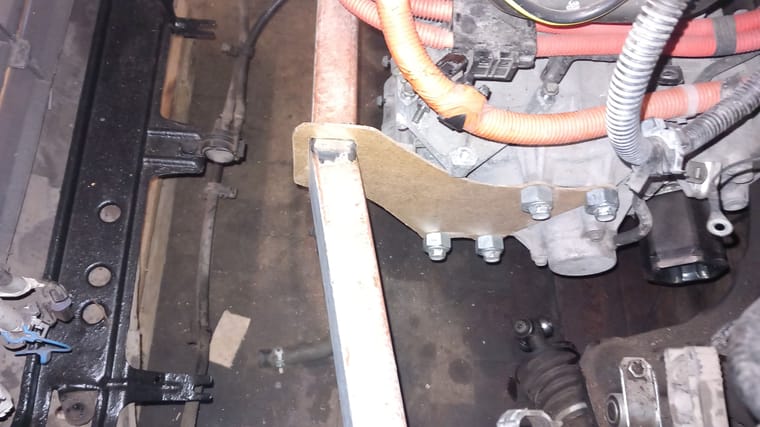
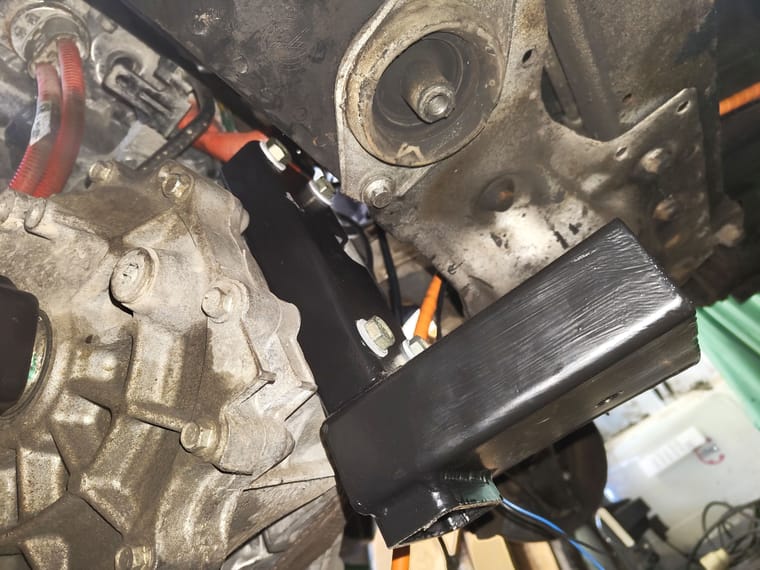
The engine stack found its place as well. With some custom made engine mounts the engine stack is mounted on the original locations. Two in the front on the bottom of the longitudinal beam and one in back, more or less in the middle. I dont know why, but it fits so nicely that even the drive shafts are nearly the same length and there is sufficient space with the 12V battery mount etc.
Here some pictures. Unfortunately a picture of the final front engine mount is missing... as everything is in the car already, I cant take one.
An empty engine compartment with the front mount in place.
During manufacturing
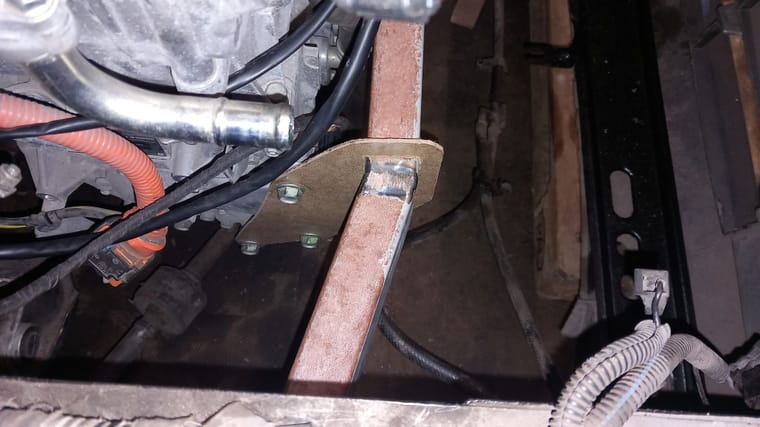
And now everything made from steel, but not with the final finish.
And the rear mount before bolting it in its final position, the rubber mount above it.
-
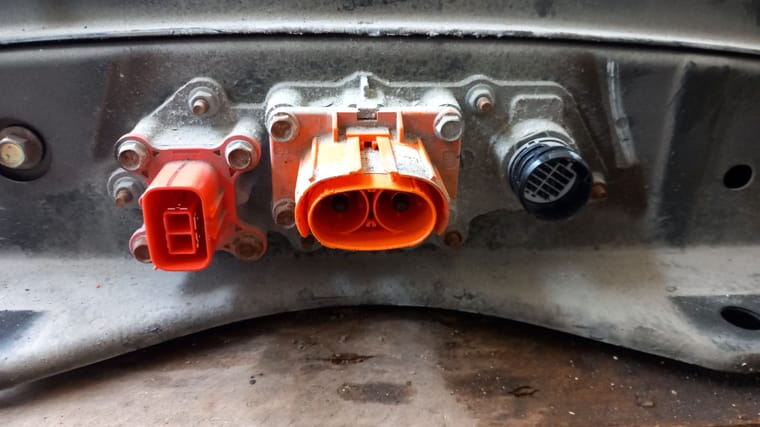
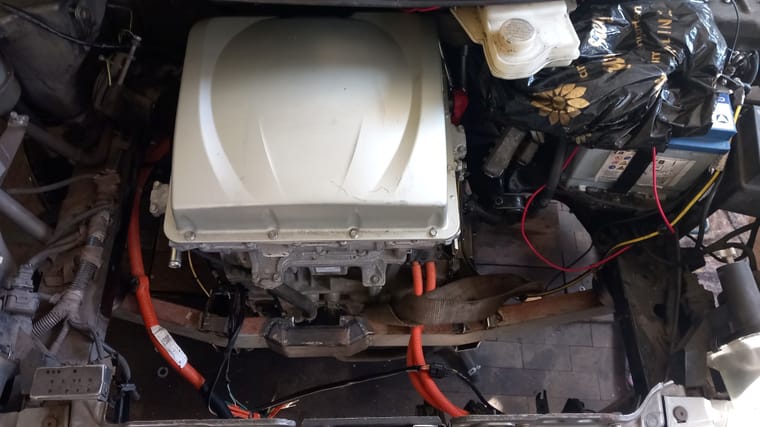
Beside fitting the components into the car, I also worked on the electrical part.
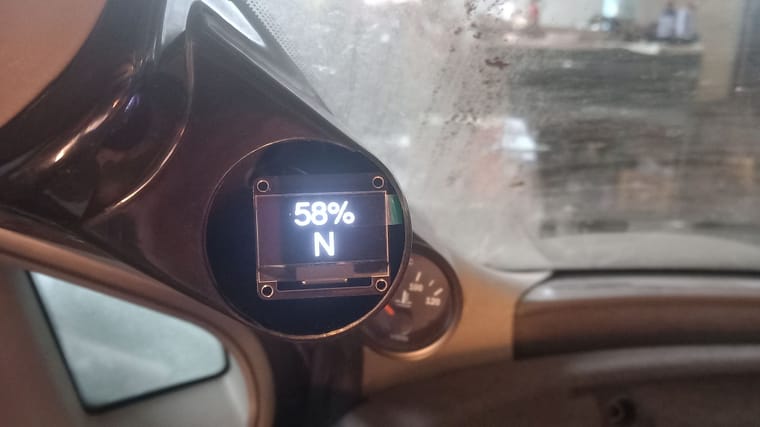
Here the Resolve-EV controller with wiring harness.
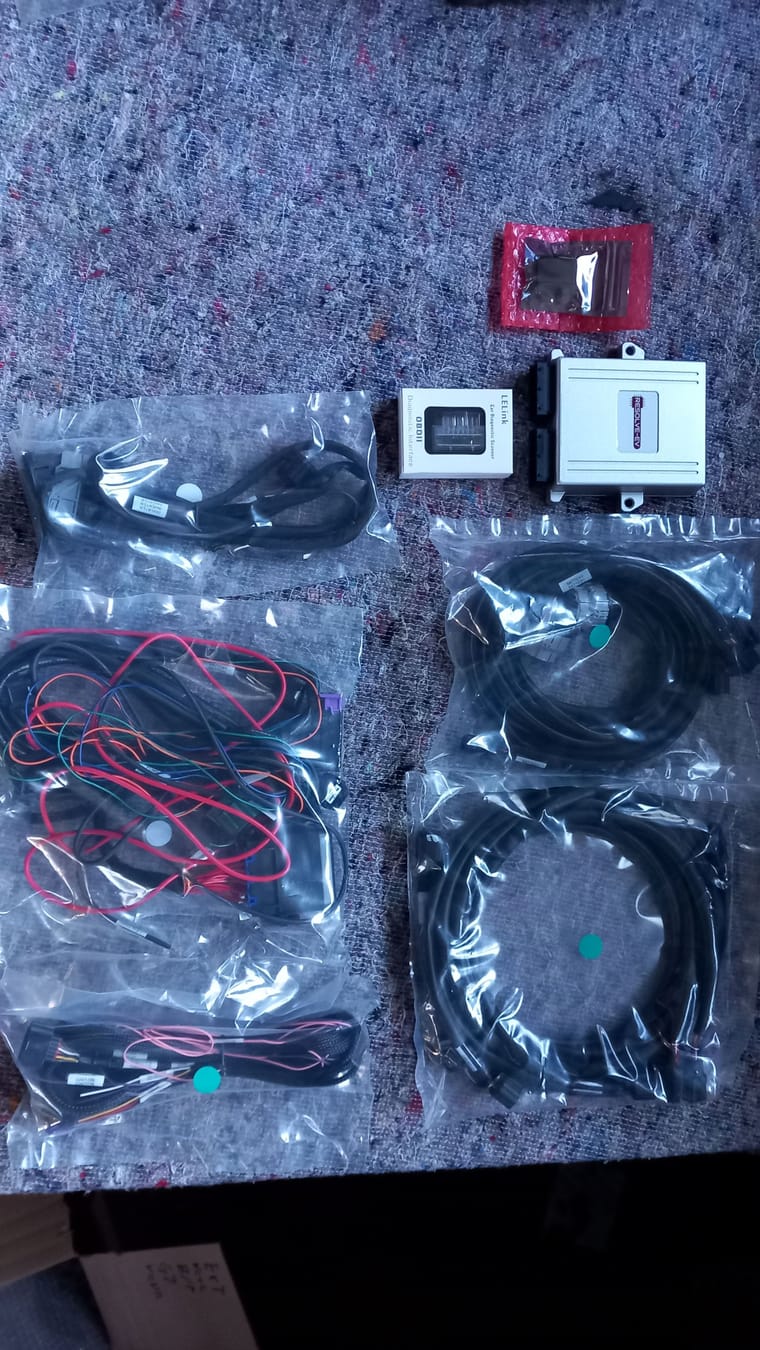
Really a great package which was plug-n-play.From bench testing I only have a video, but I cant upload it here. Sorry.
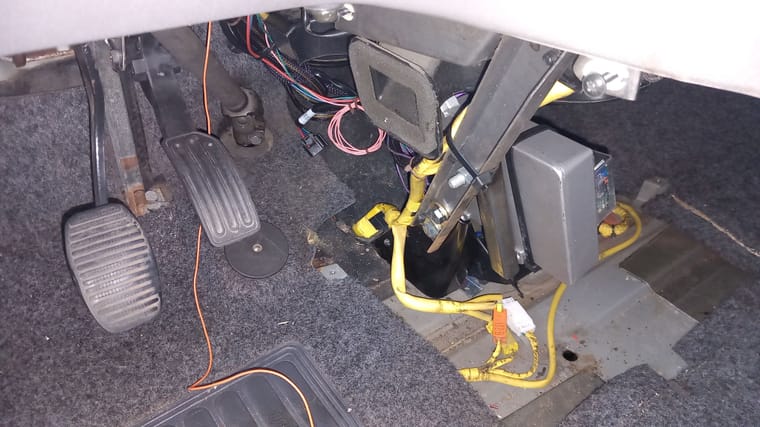
But I can tell you, it worked right away. First time everything got connected it worked. Only the display was not showing anything. But I got an replacement and this is working.Throttle paddle and controller are fitted and the 12V connections to the vehicle are done.
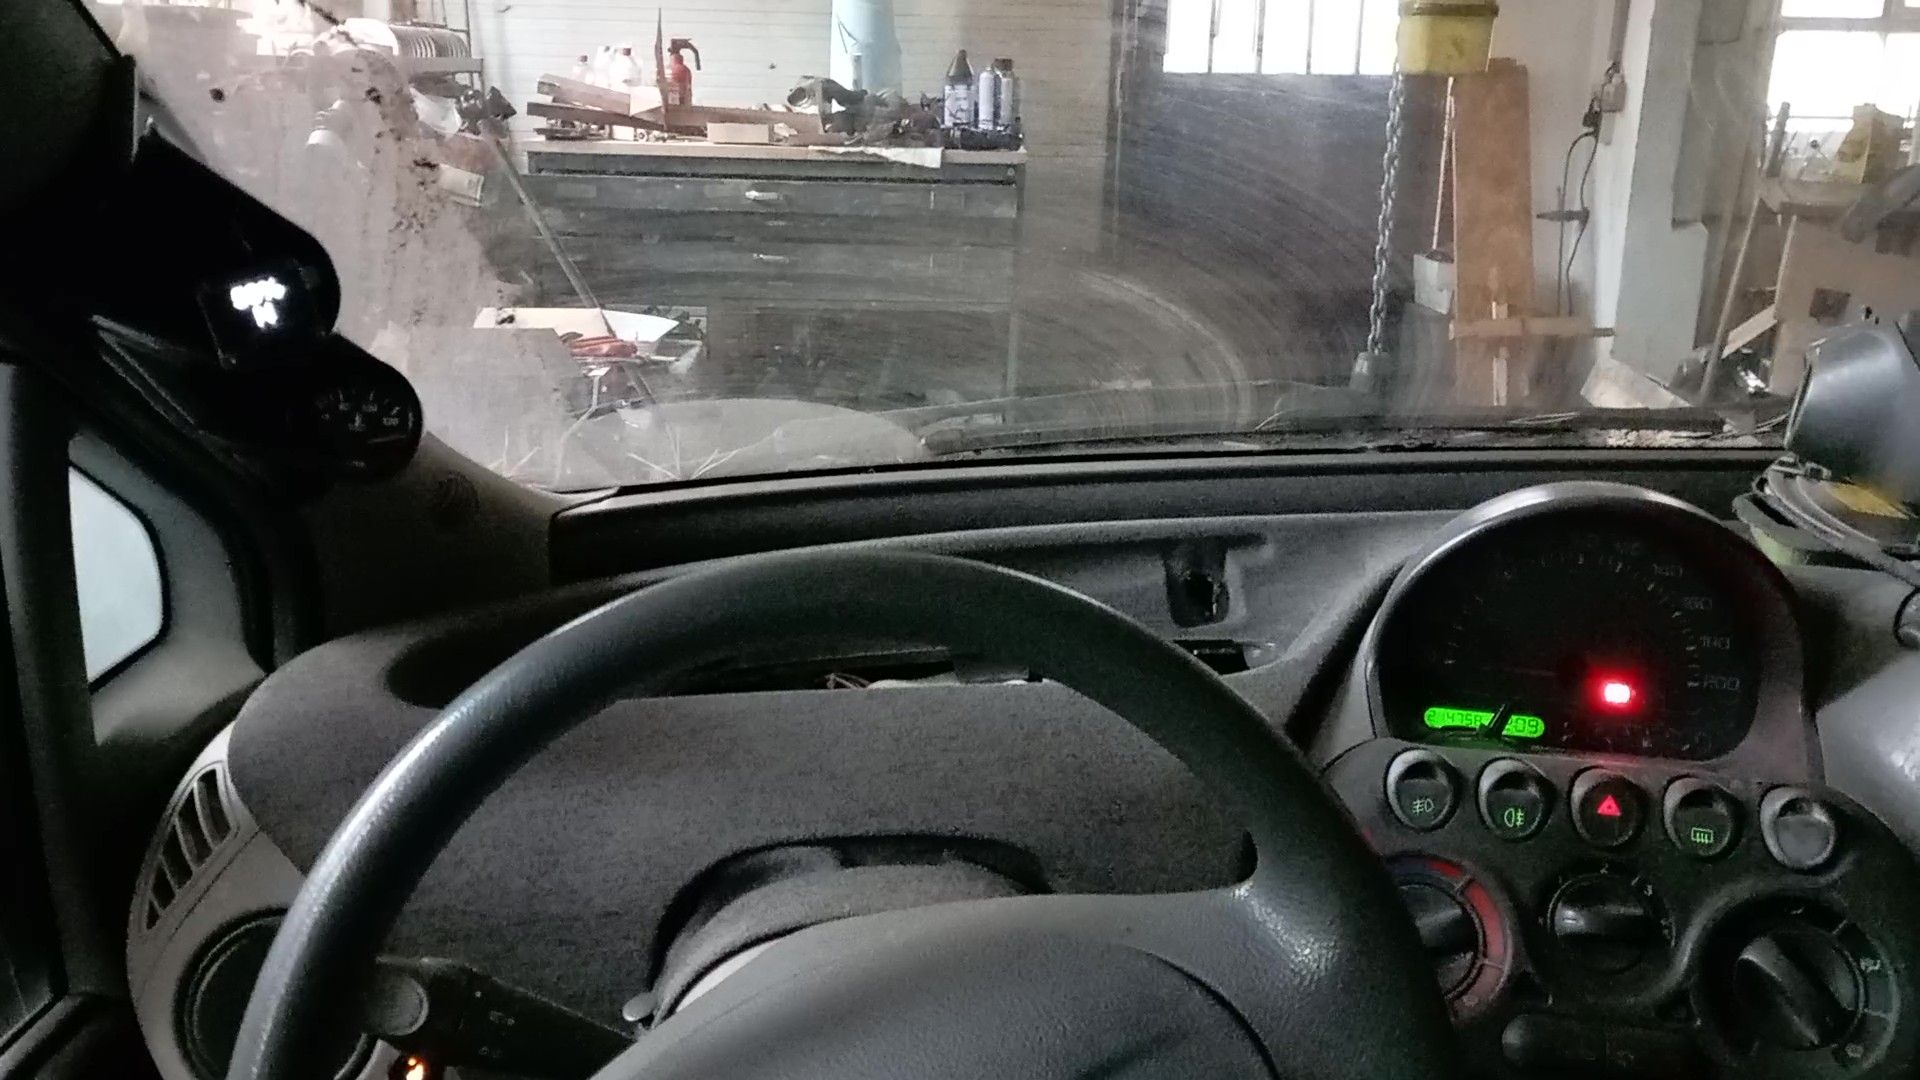
This should be a video of the first test when everything was initially fitted into the car. But its only a screen shot from the video...
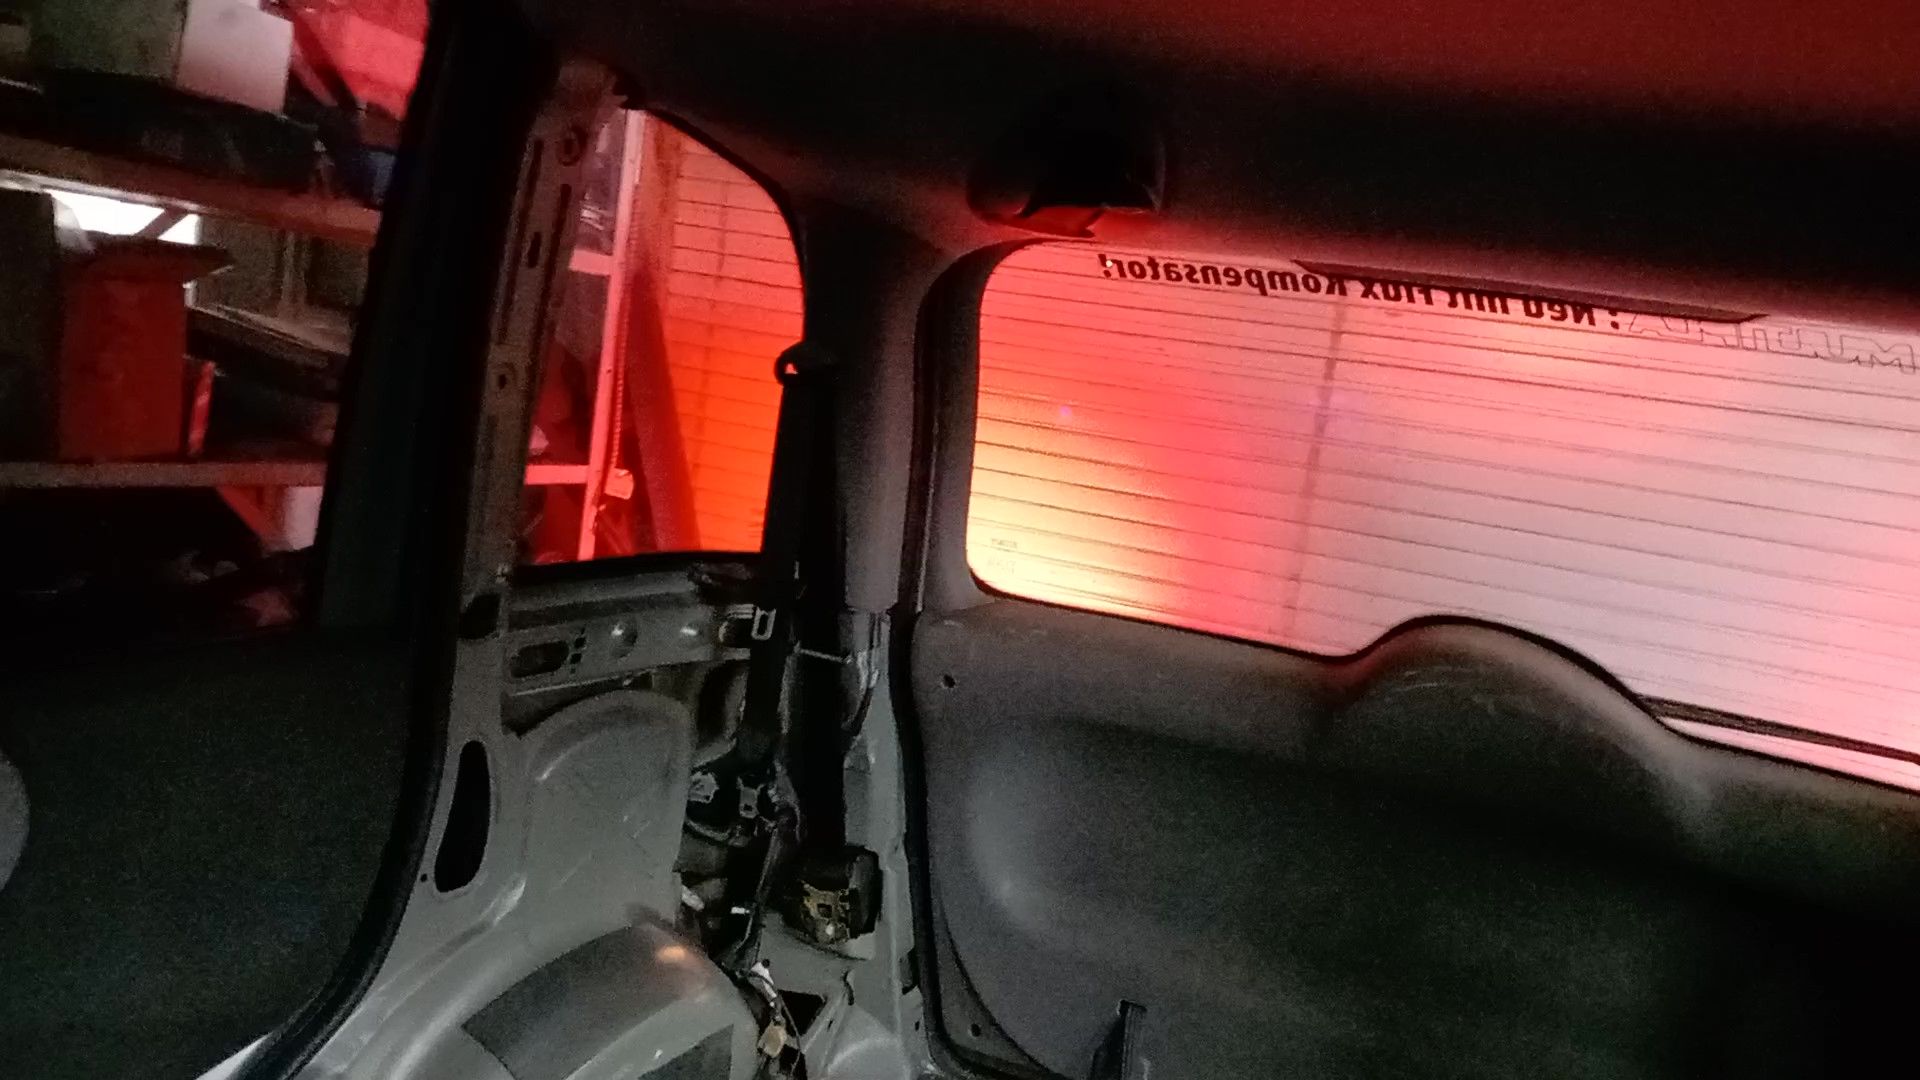
And the regenerative breaking connection to the break lights is also working as it should.
-
Hi Moha,
the progress is not that fast. I started about a year ago. Its not much left to do, but I'm just sharing what I did here whenever I have some time.Ground clearance changed a bit. But the lowest part isnt the battery pack. Its the engine stack. Despite the height of the battery pack it itsnt the lowest point as there is so much space for the gas cyliners. They have a diameter of 30cm.
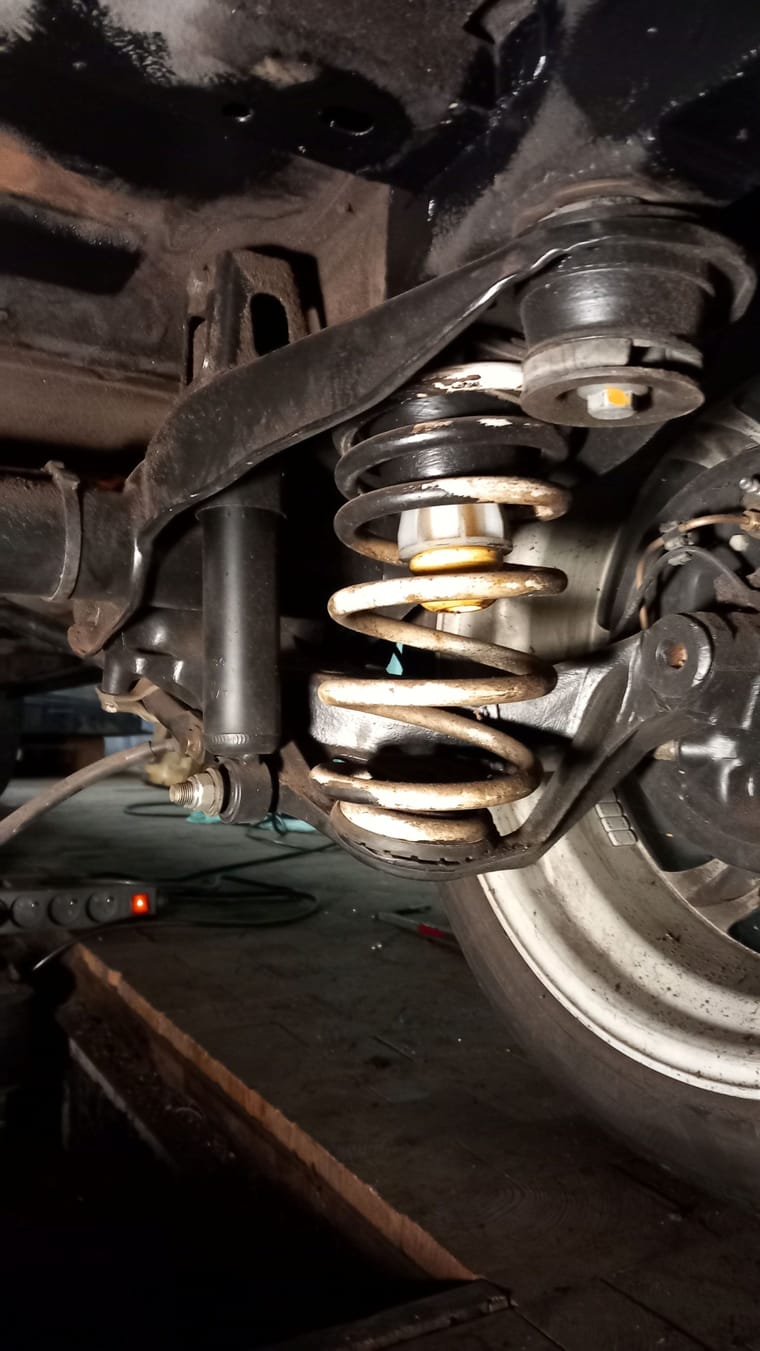
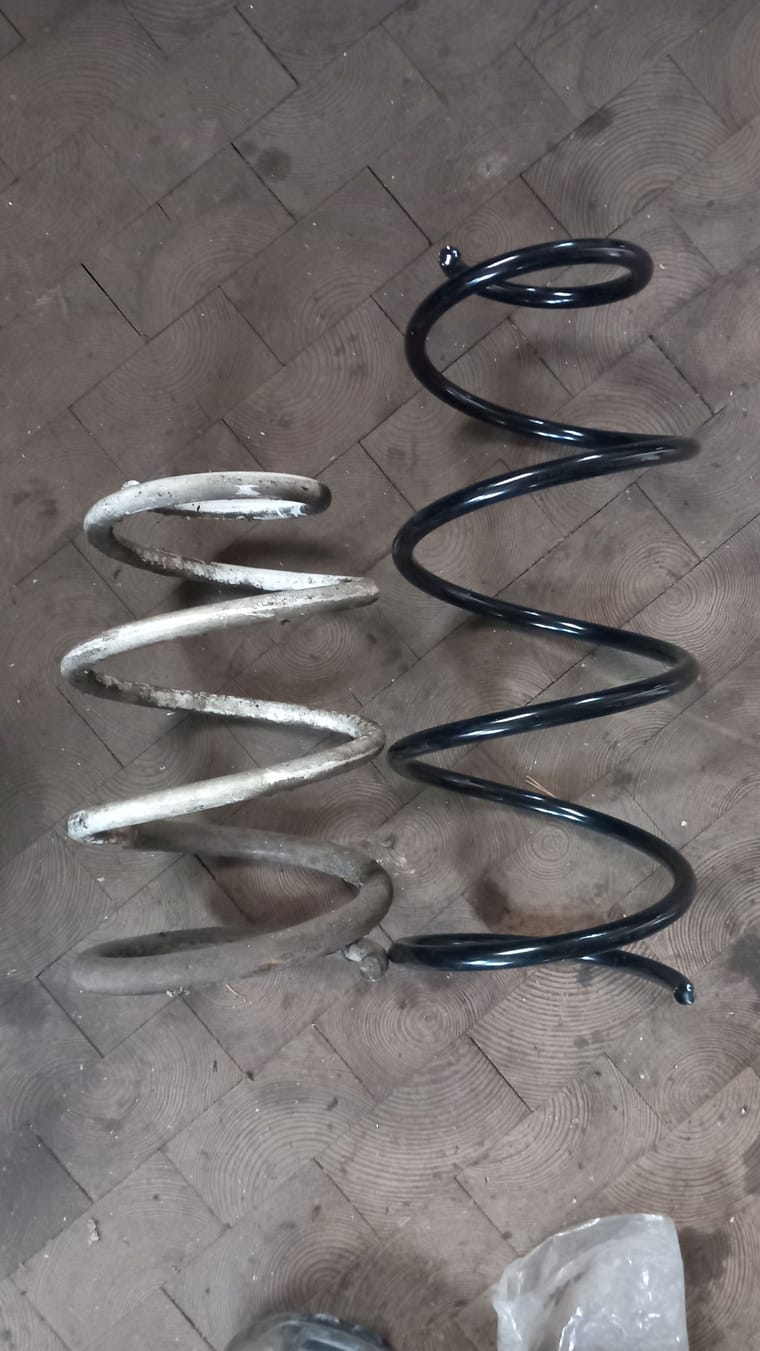
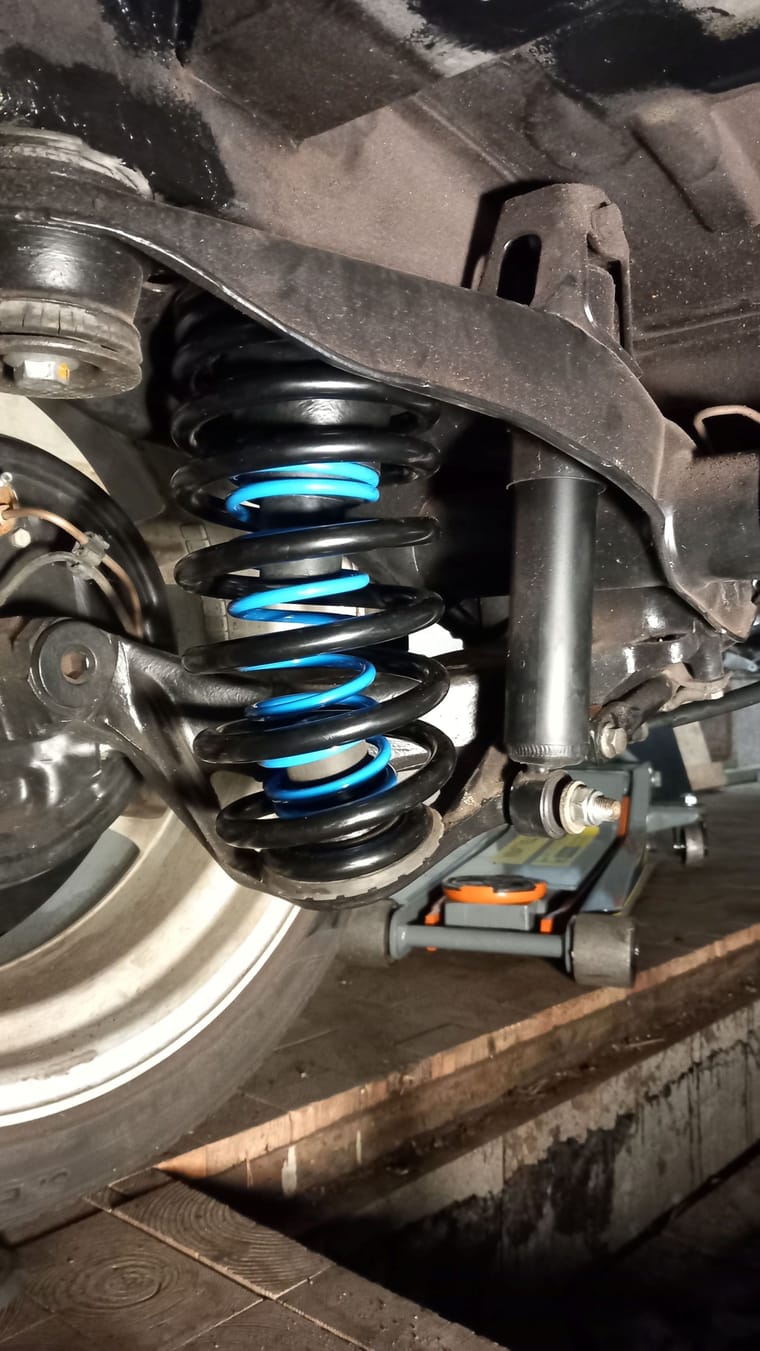
To increase the ground clearance I changed the springs. The multipla had 30mm lowered Novitec springs. They were a bit old as well, so it was more than 30mm lowered. Now it got stronger springs from diesel/natural gas versions plus additional springs at the back to compensate the additional weight on the rear axel due to the battery pack.
Here the old setup
old vs new
and the new setup
-
Hi,
it has been a while since the last post... but now I'm back and going to share the progress.
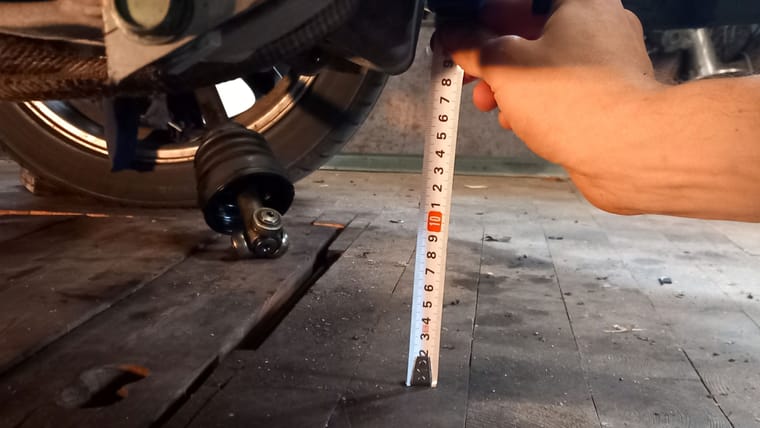
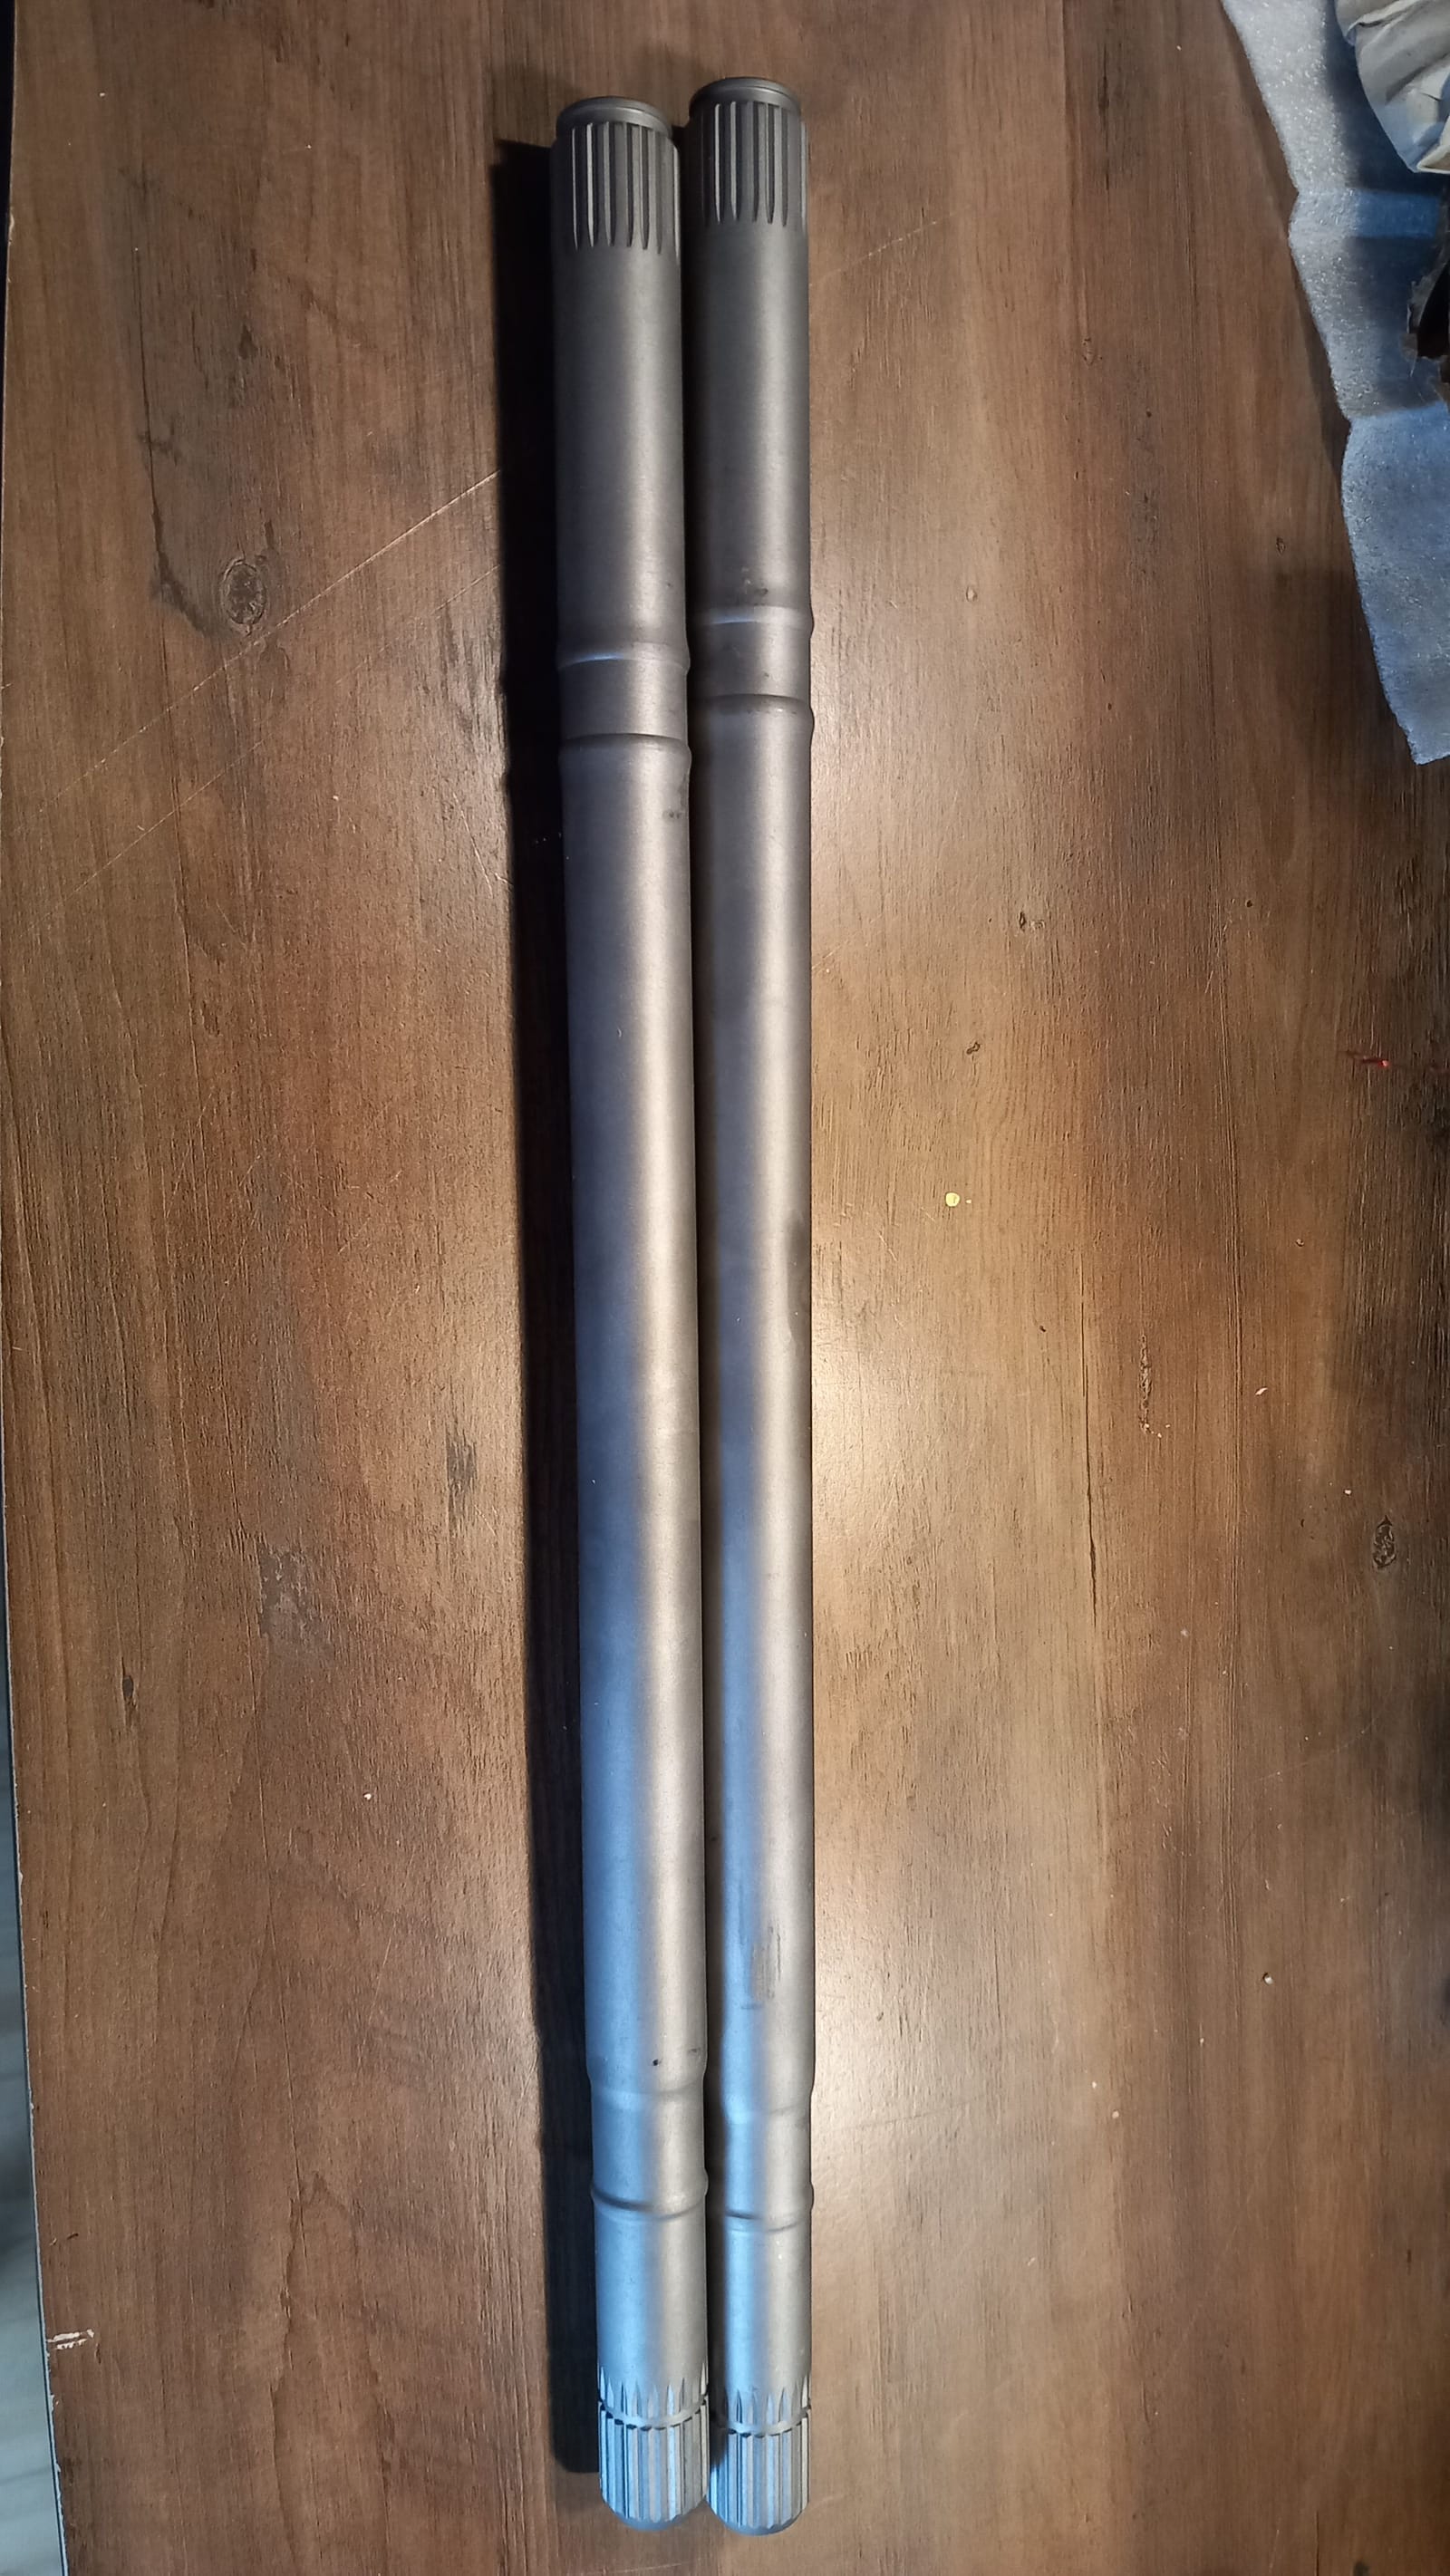
The Leaf to Multipla drive shafts have been manufactured and fitted. The length measurement was correct and everything fits well

After that a first test drive was possible and successful. Now all mechanical challenges were solved and only some smaller bits were missing.
- getting the original speedometer back to live (the original sensor was fitted to the gear box which is missing now...)
- extending charging port cable
- install electrical PTC heating element
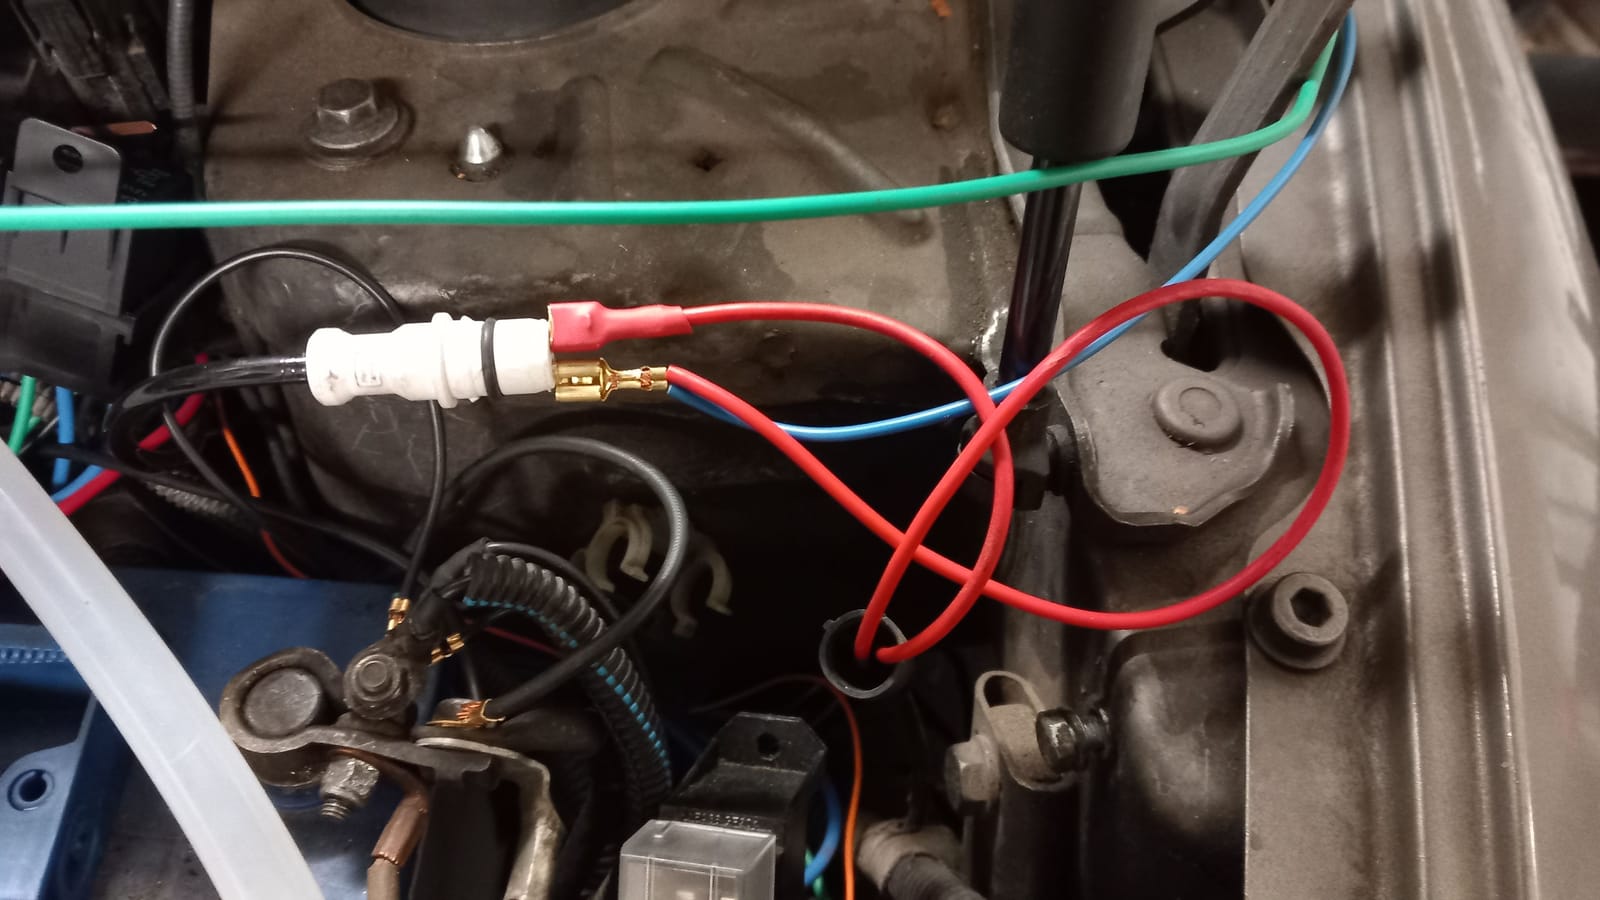
The speedometer issue got solved using a small signal converter and amplifier from ZMM Electronic. It uses the ABS signal and it allows you to adjust the signal until you get the correct speed displayed by the original speedometer. Just realized that the ZMM shop is closed now as the person retired, I think I was luck to get one...
Here I took the ABS signal for testing purposes
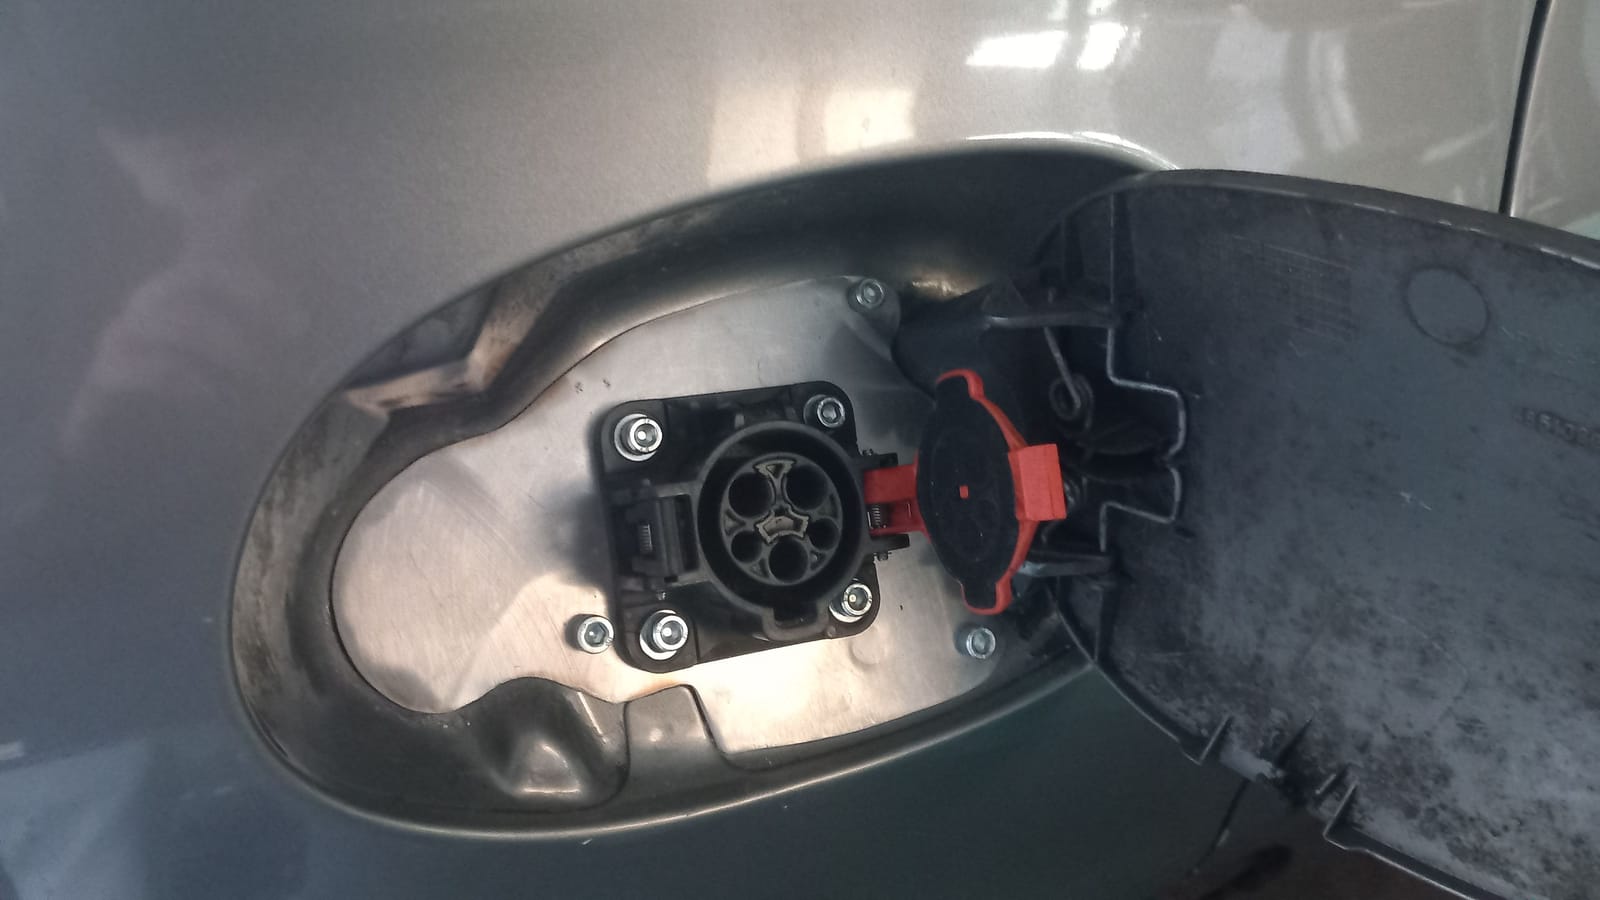
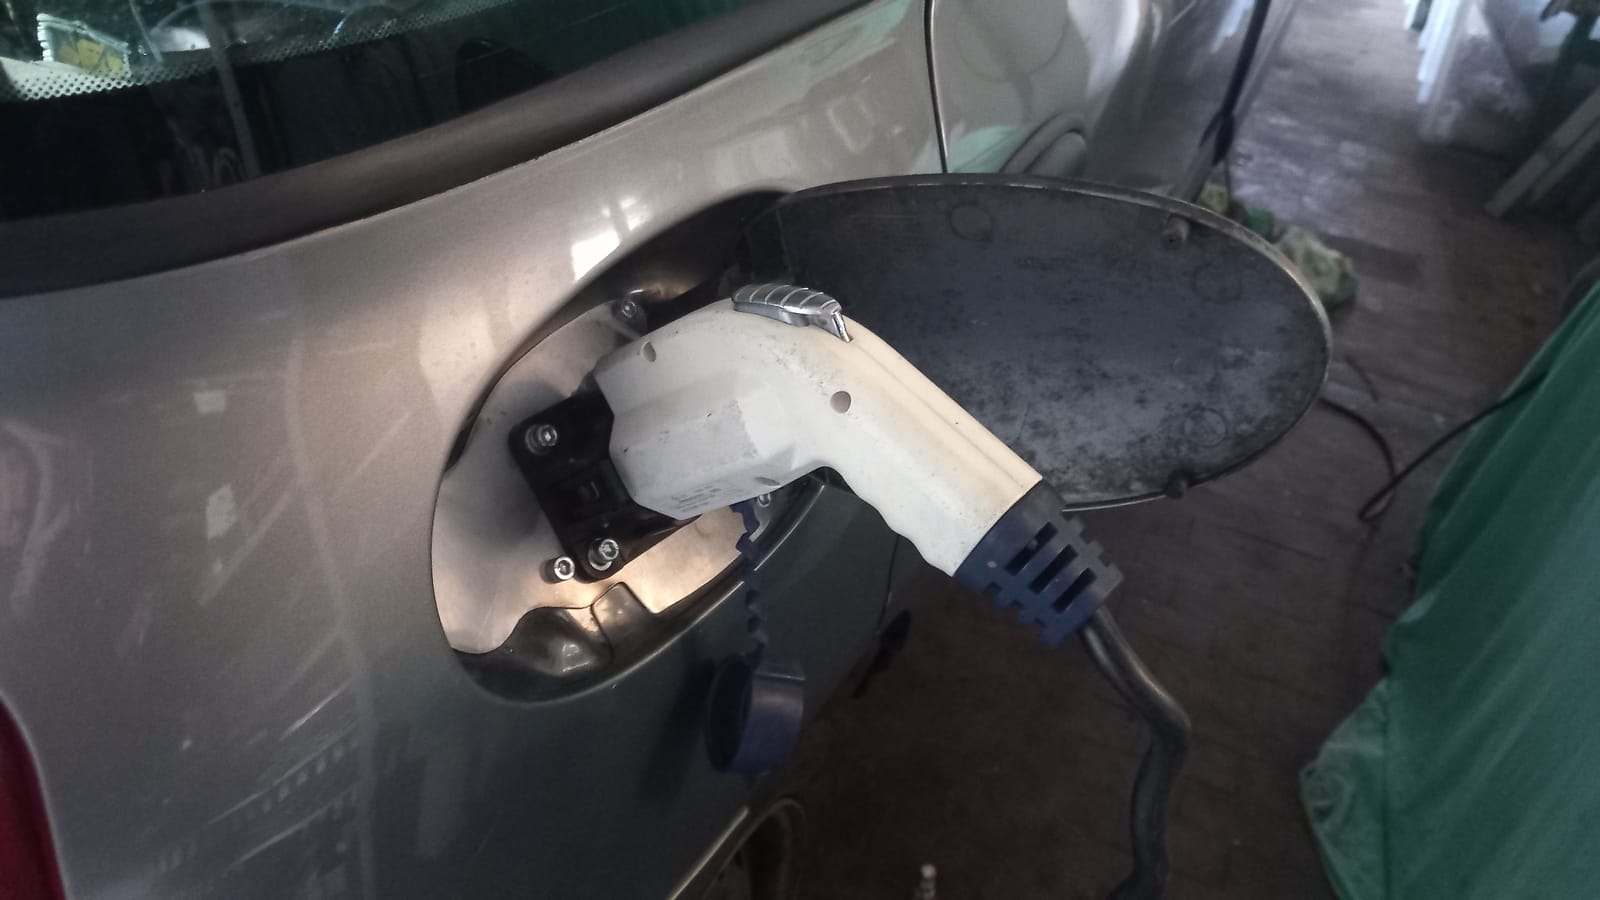
The type 1 charging port is placed under the fuel flap at the rear. The CHademo port is in the engine compartment.
Charging is also working!
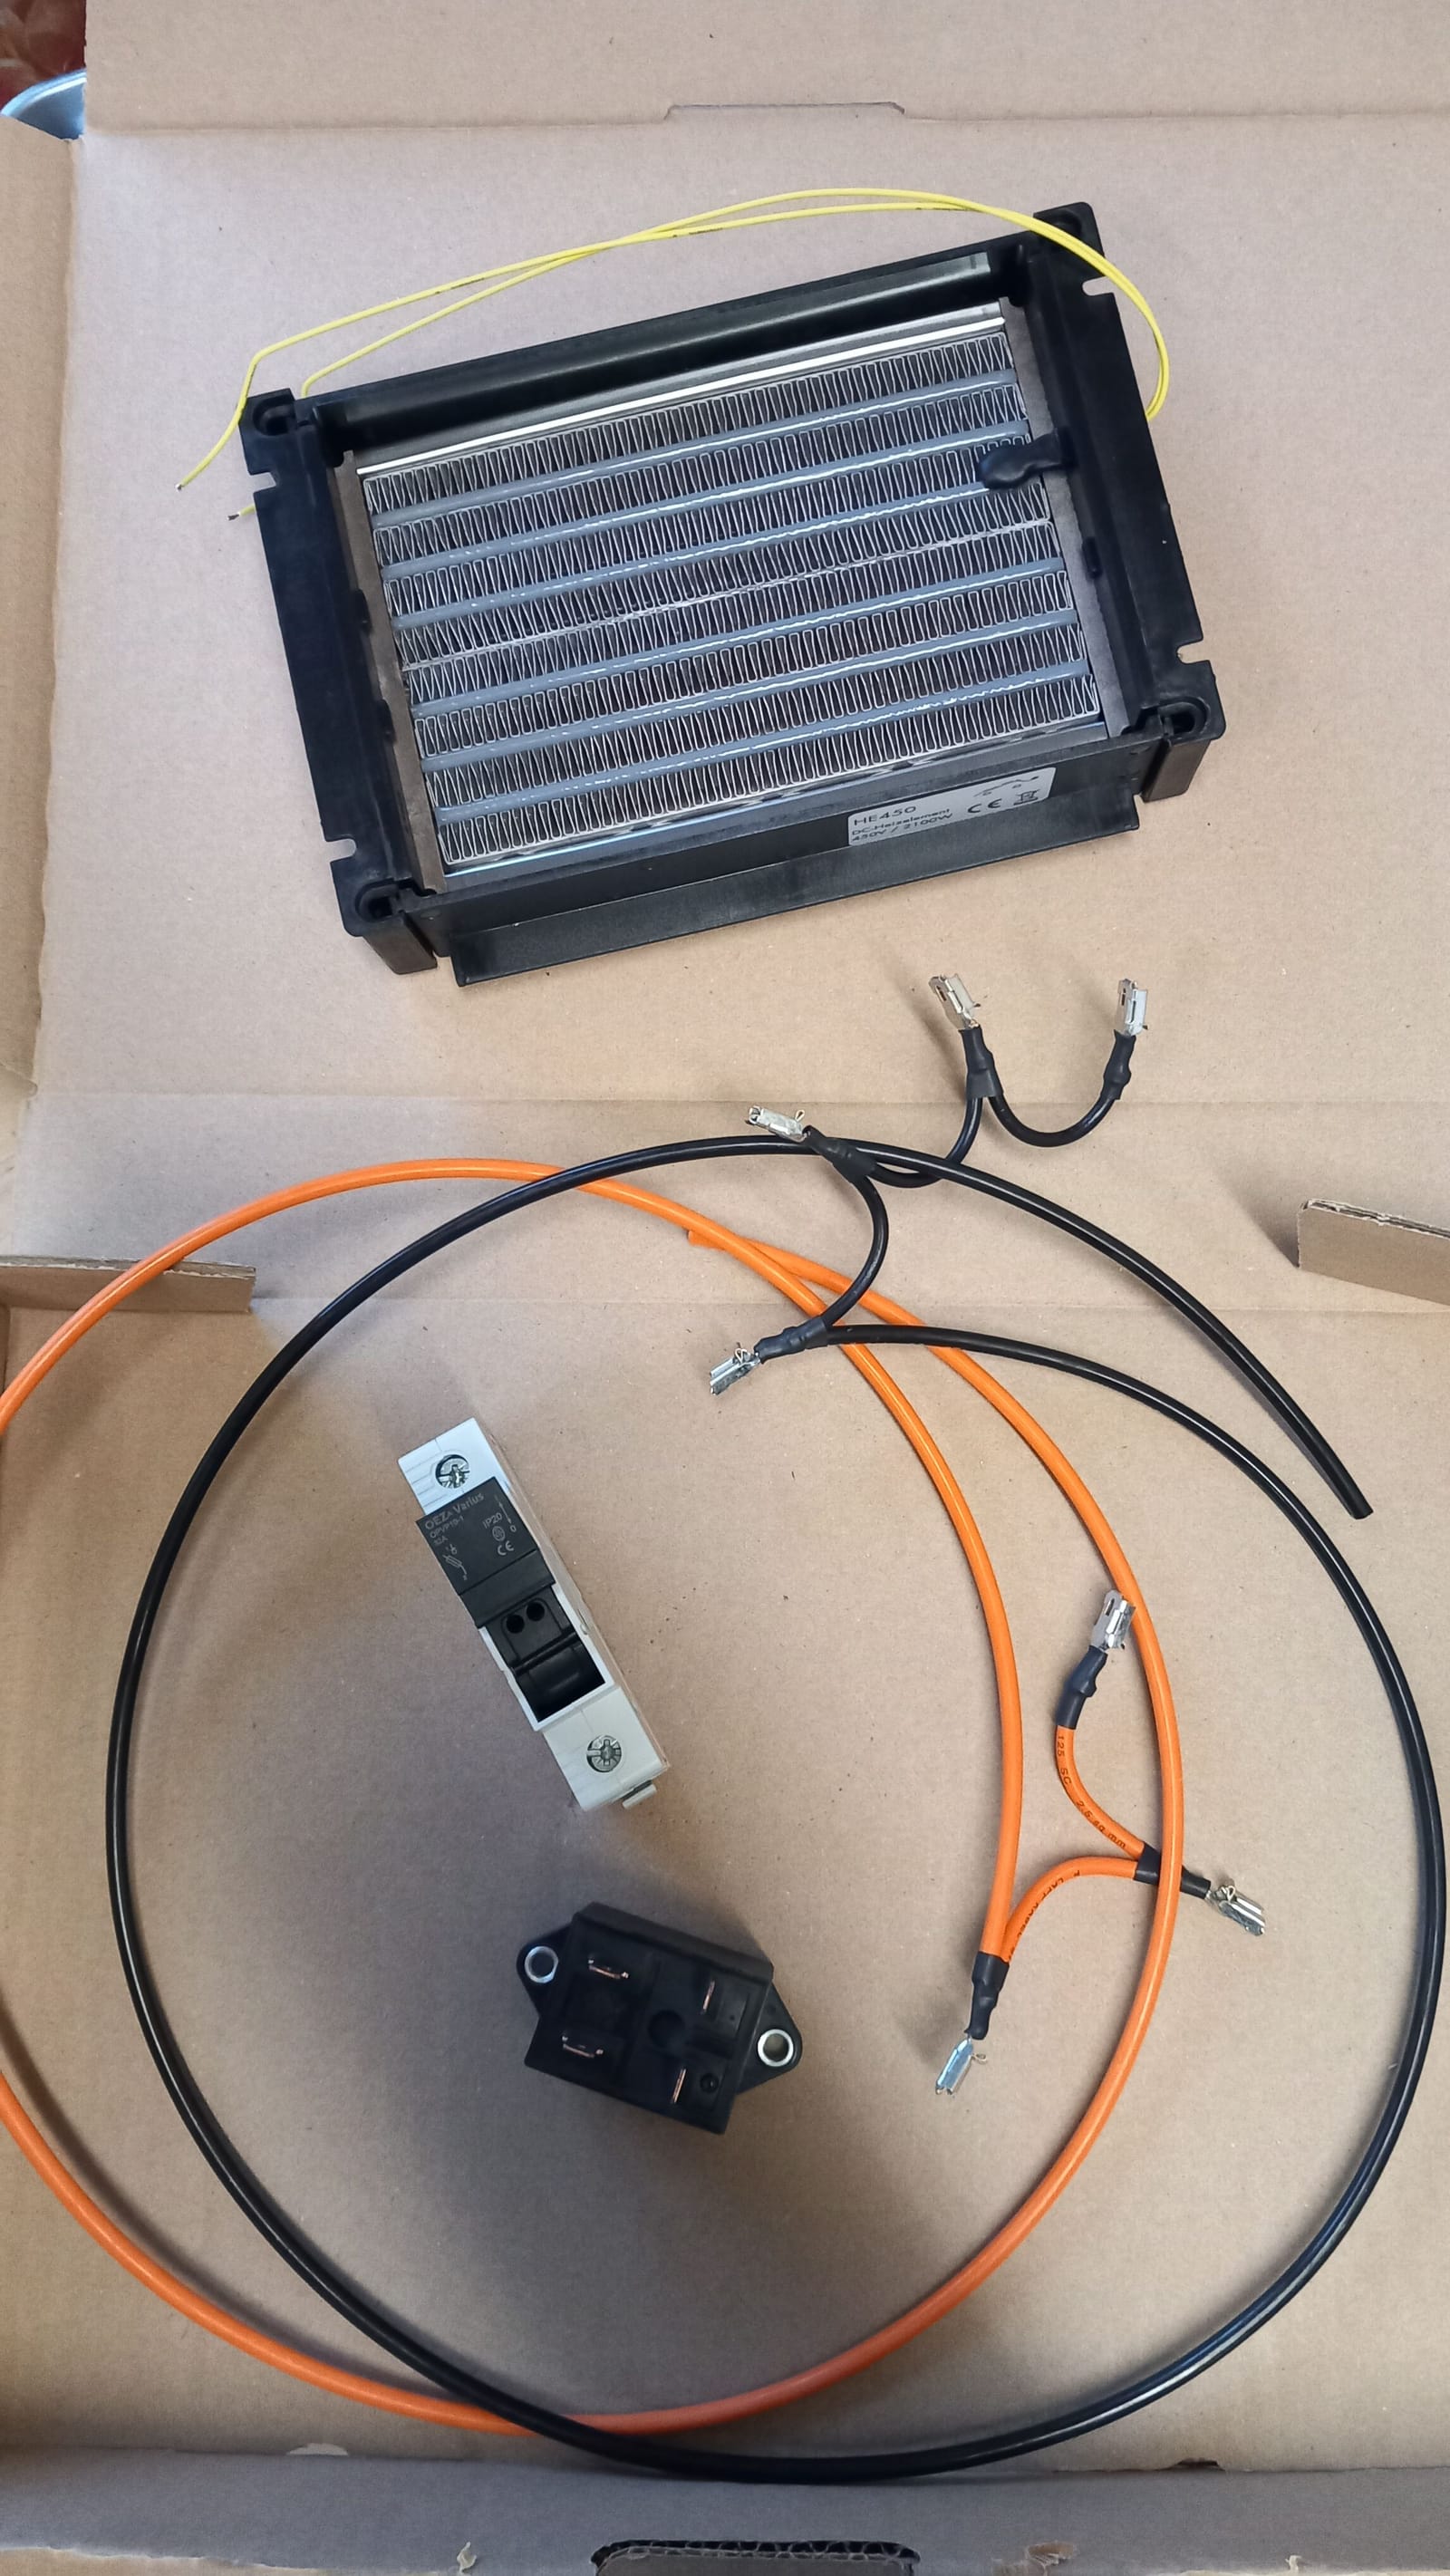
And that's the PTC heating element which is using the 350V outlet of the batterie pack. Its fitted with a mounting frame into the heating unit and works as it should.
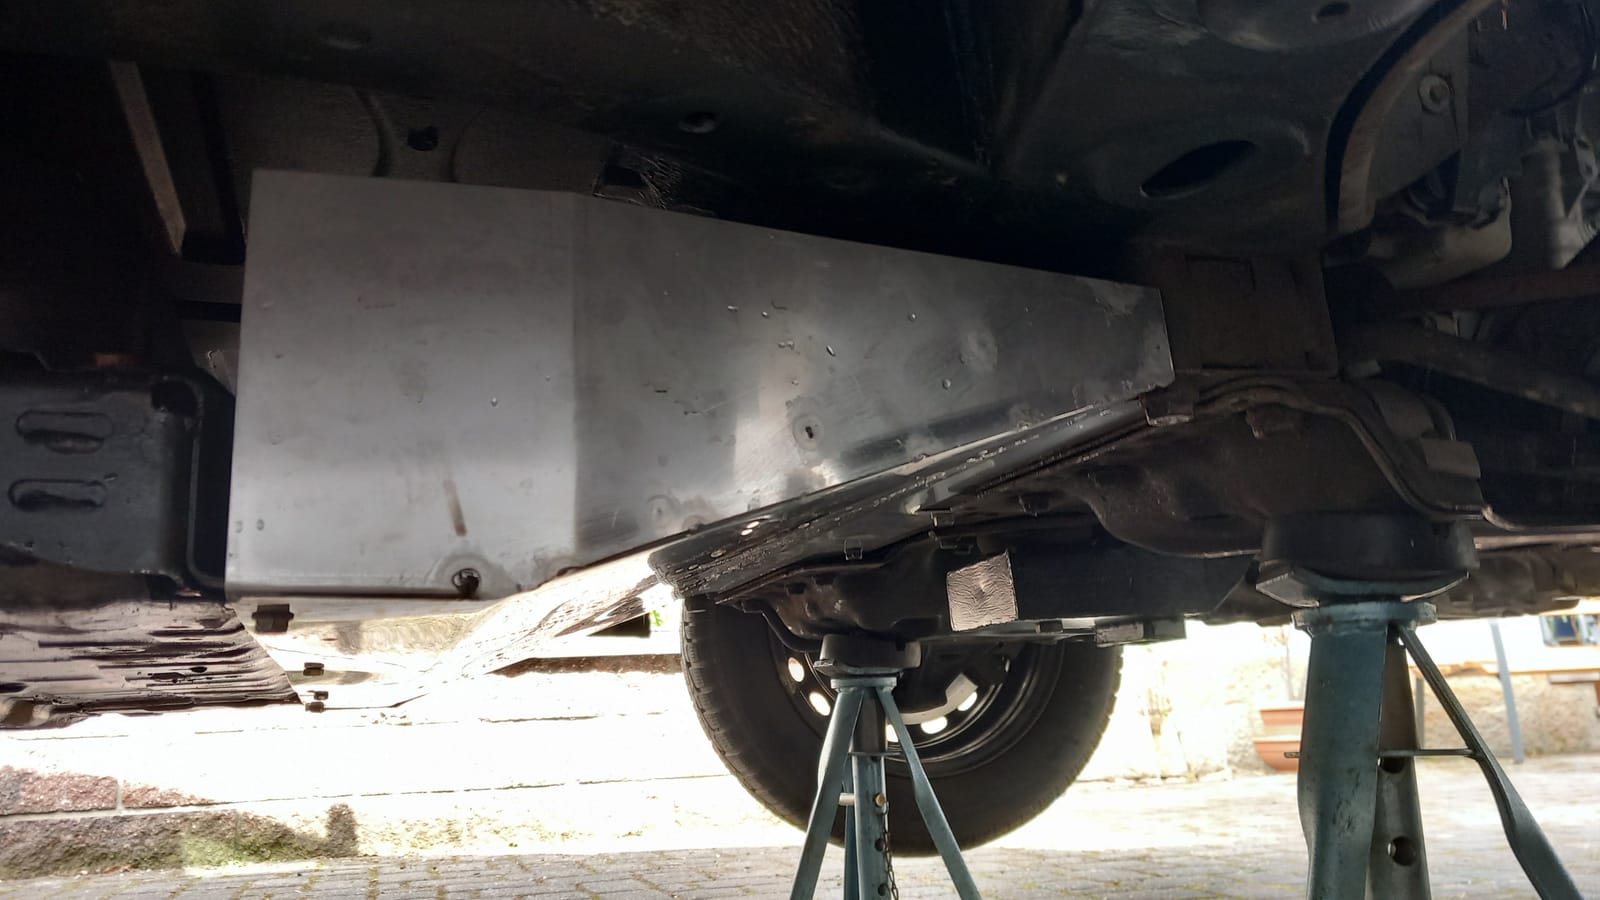
Last but not least a sheet metal protection for the front of the batterie pack was made to protect it from moisture and potential objects on the road.
") i have a secret wish for also owning this ..... thing. When it gets ugly enough it gets nice again . That the floor is double spaced make maybe this possible.
i have a secret wish for also owning this ..... thing. When it gets ugly enough it gets nice again . That the floor is double spaced make maybe this possible.